
Cost Optimisation
Pay for what you need.
Kubernetes makes it easy to start resources, and just as easy to forget them. Without care, a cluster slowly becomes a very expensive hobby. The good news is that most savings come from a handful of habits. In this lesson, we walk through them, from the biggest savings, to the smallest.

- Easy to start, easy to forget
- A handful of habits
- Biggest savings first
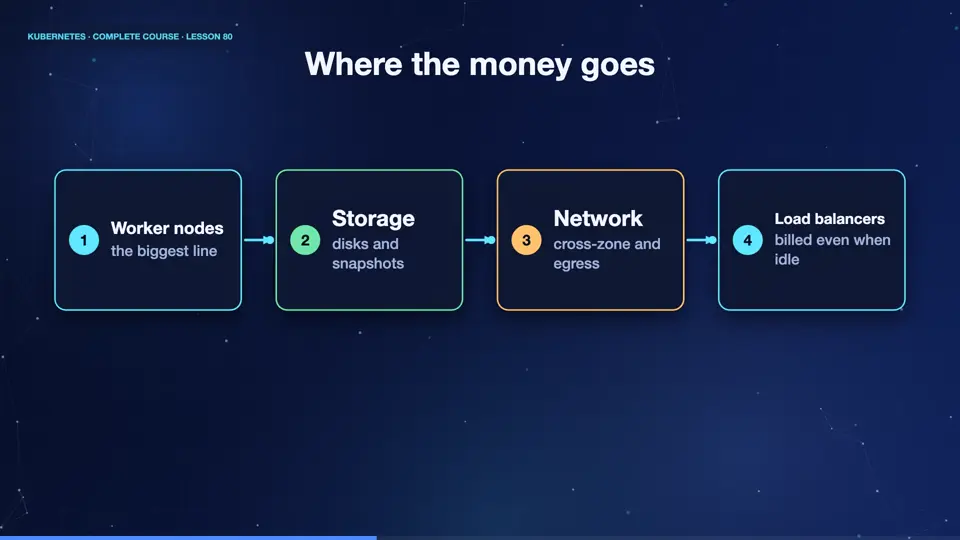
Where the money goes
The bill has a clear shape. Most of it is worker nodes, the virtual machines that run your pods. Then storage, disks and snapshots. Then network, especially traffic between zones, and out to the internet. And last, load balancers, which are billed by the hour, even when idle. The largest lever is, how efficiently your pods fill your nodes. If the nodes are half empty, you are paying double. So we start there.
- Worker nodesthe biggest line
- Storagedisks and snapshots
- Networkcross-zone and egress
- Load balancersbilled even when idle
The savings checklist
Here is the checklist, by impact. First, right size requests, using real usage from your metrics, because inflated requests waste whole nodes. Second, autoscale pods, and nodes, so that capacity follows demand. Third, use spot, or preemptible nodes, for fault tolerant workloads, with big discounts. Fourth, remove idle resources, unused load balancers, old volumes, forgotten test namespaces. Fifth, share one ingress, instead of many load balancers. And sixth, set quotas, and labels by team, so that costs are visible, and owned.
| Lever | Why it saves |
|---|---|
| Right-size requests | stop reserving unused capacity |
| Autoscale pods and nodes | pay for demand, not peak |
| Spot nodes for tolerant work | large discounts |
| Delete idle resources | no more silent bills |
| One ingress, not many load balancers | fewer hourly charges |
| Quotas and team labels | costs become visible |
Measure before you cut
Never cut blindly. Measure first. Use your monitoring system, to see requested versus actually used resources, per workload. Use cost tools, that break down spending by namespace, and label. Set alerts on sudden jumps. Change one thing at a time, and watch quality, and latency, after each change. A saving that causes an outage is not a saving. Review the numbers monthly, and make cost one of the standing topics, of your team's weekly rhythm.
Summary
Wonderful. Nodes are the biggest cost, so fill them efficiently. Right size requests, autoscale, use spot nodes, delete idle resources, and make costs visible. Measure before every change. Finally, let us gather everything into a best practice checklist.
Key takeaways- Fill nodes efficiently
- Right-size, autoscale, spot
- Measure, then cut